Over the duration of this project, I created a one-minute infographic for a college assignment at the New England Institute of Technology. Initially, it was an opportunity to combine my technical education with creative animation, focusing on aperture and f-stops—a core concept in photography that I’m passionate about (pun intended).
After receiving critiques and feedback from peers and professors, I refined the animation and submitted a final version that addressed key suggestions to improve clarity and engagement.
Understanding f-Stops & Aperture
The Vision

The video explains aperture and f-stops for beginner photographers, covering how they affect light and depth of field. The goal was to make these concepts accessible by delivering concise, visually engaging, and educational content.
The Process
I outlined the flow of the video, starting with an Understanding F-Stops, What is Aperture, and then onto how F-stops work from wide to narrow apertures.
A storyboard was crafted to ensure a logical and visually appealing sequence. Storyboard was revised multiple times due to struggling to find ways to make cohesive within the skills and timeframe given.
The storyboard and animatic created was eventually redrafted and we did not turn the initial animatic into the final video cut.
I sourced all visual elements and audio from Adobe Stock and Envato Elements, ensuring consistency and professional quality.


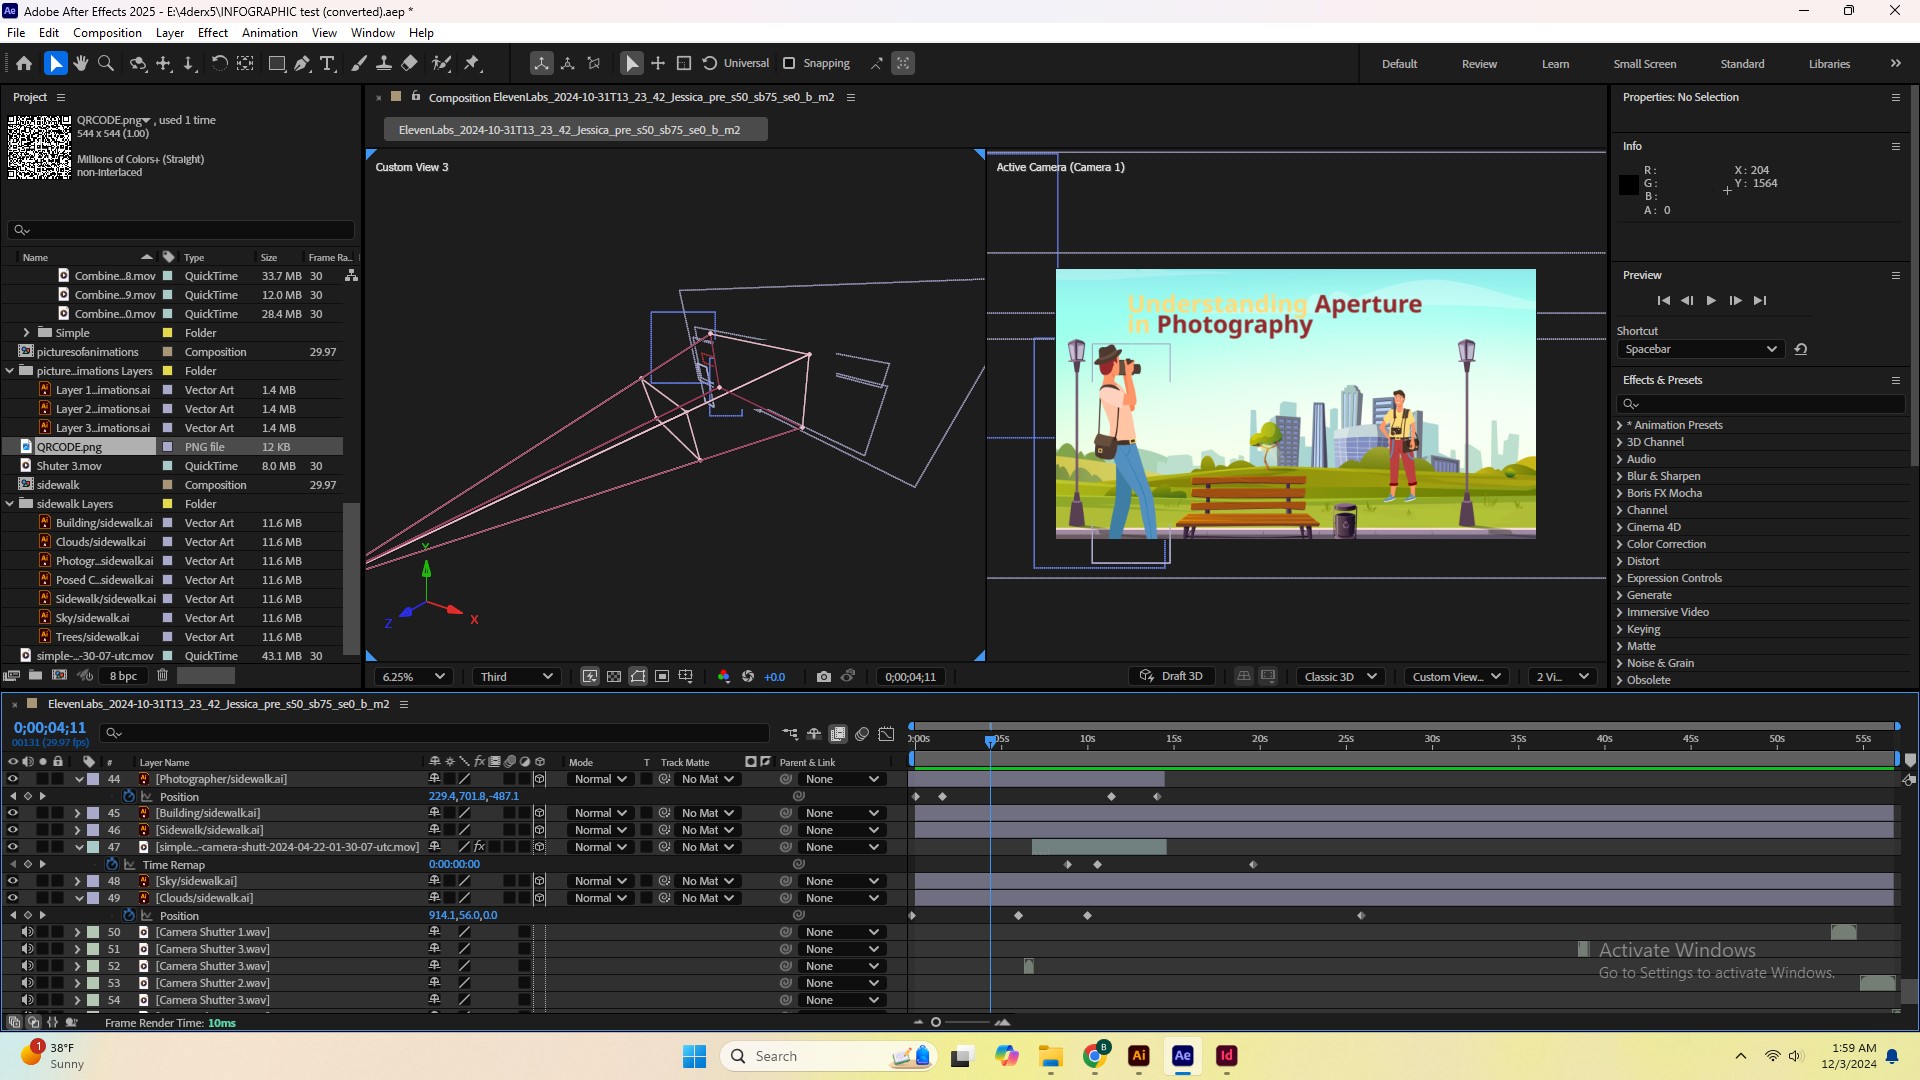
The infographic came to life in Adobe After Effects.
I used motion graphics and After Effect’s Lighting to demonstrate light entering a camera lens and adjusted aperture blades and the camera in After Effects to illustrate depth of field changes.

Animations were refined to balance technical accuracy with smooth transitions.
Text and visuals were synced with background music to maintain viewer engagement.
Storyboard:
Challenges & Solutions
Every creative project comes with its hurdles:

- Challenge: Balancing simplicity with depth for a 1-minute video that explains a difficult to understand topic.
- Solution: Focused (Yes, another pun..) on high-impact visuals and text.
- Challenge: Creating a cohesive storyboard and putting the camera in after effects and syncing the timing of the Aperture/Exposure.
DRAFT ONE – Animated Infographic prior to feedback/critiques:
Incorporating Feedback
The main critique was the need for better visual aids in the middle of the animation to show how depth of field looks at different f-stops (narrow versus wide angle). I added new visuals to demonstrate this, including a direct comparison of images with varying depths of field. These enhancements helped clarify the topic for beginners.
The Results
The updated infographic effectively demonstrates the science behind aperture and f-stops, emphasizing the relationship between f-stops, light, and depth of field. The final version is now more engaging and beginner-friendly, showcasing my ability to adapt based on constructive feedback.
Lessons Learned
This project reinforced the importance of:
- Iterative improvement: Peer and professor feedback is invaluable for refining creative work.
- Visual storytelling: Well-placed visuals are key to simplifying complex topics.
- Attention to detail: Small adjustments can significantly enhance clarity and engagement.

Conclusion
This project allowed me to hone my skills in animation, video editing, and photography education while responding to real-world critiques. Projects like these fuel my passion for combining technical concepts with creative storytelling.
DSLR Basics – A comprehension Guide to DSLR Camera Functions.
Expanding My Expertise with cameras and understanding aperture
“This project was created as part of a technical communications class at the New England Institute of Technology, during the same semester as the animated infographic on aperture and f-stops.”
The DSLR Basics – A Comprehension Guide to DSLR Camera Functions was created as part of a technical communication class at the New England Institute of Technology. The guide is designed to explain key DSLR camera functions, such as aperture, shutter speed, and ISO, in a simple and beginner-friendly manner. It was made using Adobe InDesign, with clear layouts, diagrams, and real-world examples to help readers understand technical concepts. The project focused on breaking down complex information into accessible steps, ensuring the manual was both educational and visually engaging for newcomers to photography.
Key Points:
- Simplified complex concepts for accessibility
- Targeted beginner photographers
- Focused on DSLR functions (aperture, shutter speed, ISO)
- Created using Adobe InDesign
- Included diagrams and practical examples


