Over the duration of this project, I was tasked with creating a one-minute infographic for a college assignment at the New England Institute of Technology, However, I saw this as an opportunity to combine my technical education with creative animation. My chosen topic was aperture and f-stops—a core concept in photography that I had been focusing on for quite some time. (pun intended)
Understanding f-Stops & Aperture
The Vision

The goal is to clear up those who’s Aperture and f-Stop knowledge is blurry. (yes, another one). This topic covers Aperture and f-stops for beginner photographers, explaining how they affect light and depth of field. I wanted the video to be concise, visually engaging, and easy to understand, showcasing my skills in animation while ensuring the content remained educational.
The Process
I outlined the flow of the video, starting with an Understanding F-Stops, What is Aperture, and then onto how F-stops work from wide to narrow apertures.
A storyboard was crafted to ensure a logical and visually appealing sequence. Storyboard was revised multiple times due to struggling to find ways to make cohesive within the skills and timeframe given.
The storyboard and animatic created was eventually redrafted and we did not turn the initial animatic into the final video cut.
I sourced all visual elements and audio from Adobe Stock and Envato Elements, ensuring consistency and professional quality.


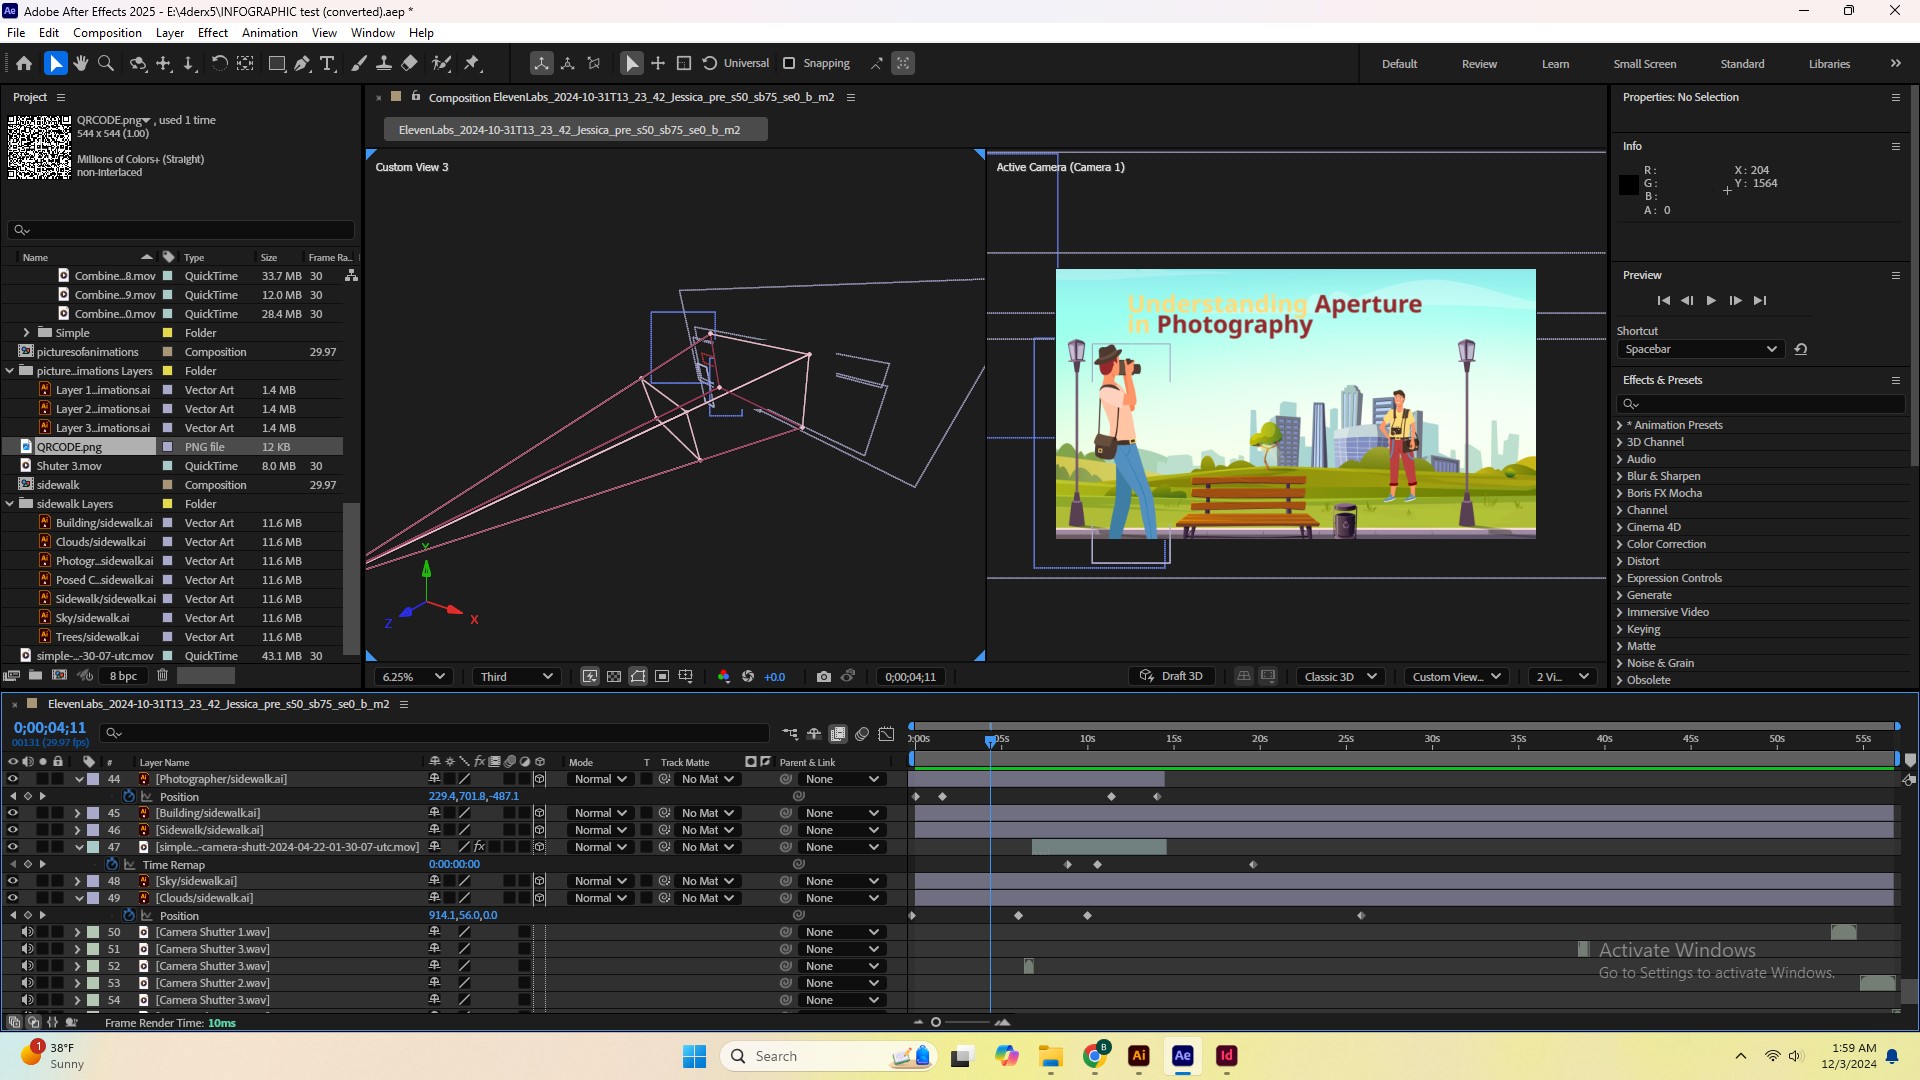
The infographic came to life in Adobe After Effects.
I used motion graphics and After Effect’s Lighting to demonstrate light entering a camera lens and adjusted aperture blades and the camera in After Effects to illustrate depth of field changes.

Animations were refined to balance technical accuracy with smooth transitions.
Text and visuals were synced with background music to maintain viewer engagement.
Storyboard:
Challenges & Solutions
Every creative project comes with its hurdles:
- Challenge: Balancing simplicity with depth for a 1-minute video that explains a difficult to understand topic.
- Solution: Focused (Yes, another pun..) on high-impact visuals and text.
- Challenge: Creating a cohesive storyboard and putting the camera in after effects and syncing the timing of the Aperture/Exposure.

The Results
The result was a visually dynamic, easy-to-follow animation. The infographic effectively focused (final pun) on the science behind aperture and f-stops, making it accessible to beginner photographers.
Lessons Learned
This project reinforced the importance of:
- Pre-production planning: Storyboards saved time during animation.
- Stock assets: High-quality, customizable resources accelerate production while maintaining a professional finish.
- Attention to detail: Even small tweaks can make animations more fluid and engaging.


Conclusion
This college assignment was more than just an academic exercise—it was a chance to hone my animation and storytelling skills in a real-world scenario for something I personally enjoy to do even as a hobby. (Photography). Projects like these are what drive me to continue to seek new ways to improve and focus on those useful skills with Adobe Creative Applications. Also, Check out the book about DSLR Cameras and the video below (Book was also made for NEIT):

Leave a Reply