Project Details:
At Digi Design Group, I’m always looking for new ways to create engaging content. Recently, I produced a 3-minute tutorial called “How to Tune a 5-String Banjo to Standard G Tuning” and crafted a 30-second title sequence to introduce it. This project, part of a college assignment, was a great opportunity to showcase my video production skills. Though it was educational, the result highlights the professional quality I bring to client projects.
Disclaimer
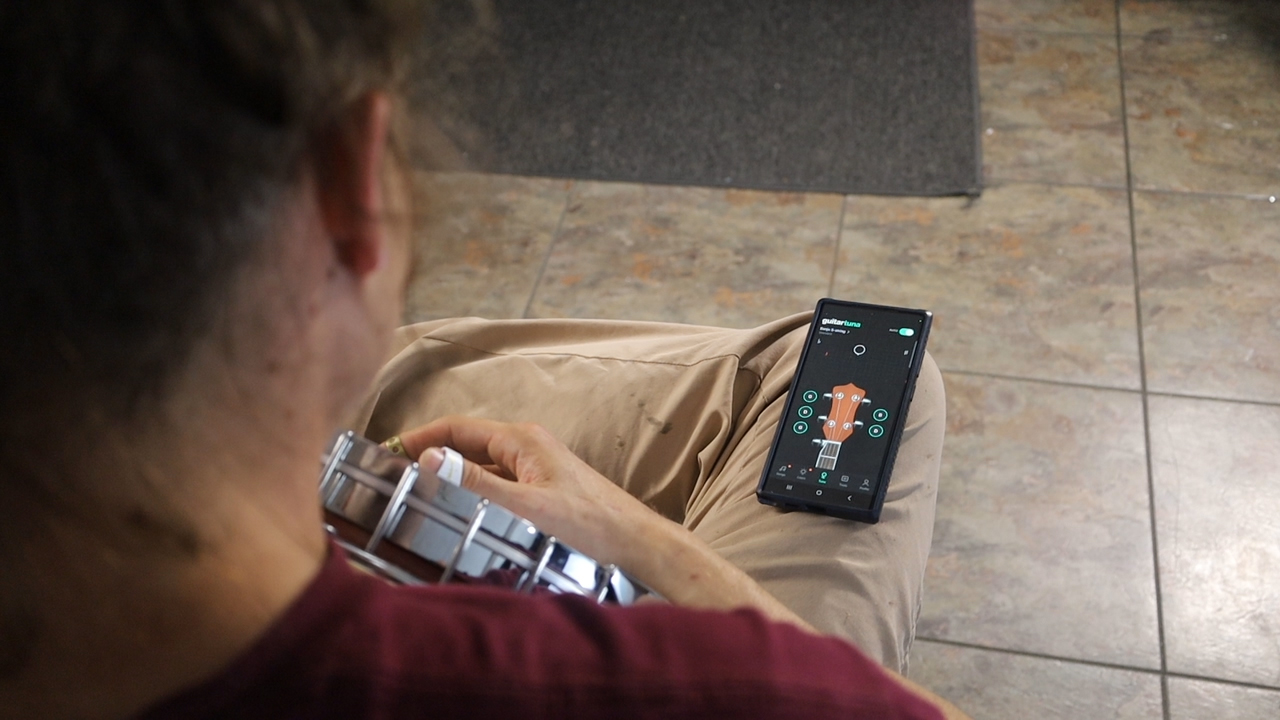
Before I dive into the details, it’s important to note that this video was produced as part of a college project. I wasn’t endorsed by any of the products shown in the video. Specifically, I used the guitartuna application for tuning the banjo, but I’m not sponsored by them—I just found it helpful for the demonstration.
Conceptualization
The first step was developing the concept of the tutorial. I wanted the video to be approachable for beginners while also reflecting a professional standard of production. Using my personal sketchbook, I sketched out my initial ideas, then typed and refined the script and shot list based on feedback from peers and professors. One key takeaway from this stage was learning how to balance the educational aspect of the content with a visually appealing presentation. After a few rounds of critique, I adjusted my focus to make sure the tutorial wasn’t too technical but still engaging.
Storyboarding and Rough Cut Filming Process
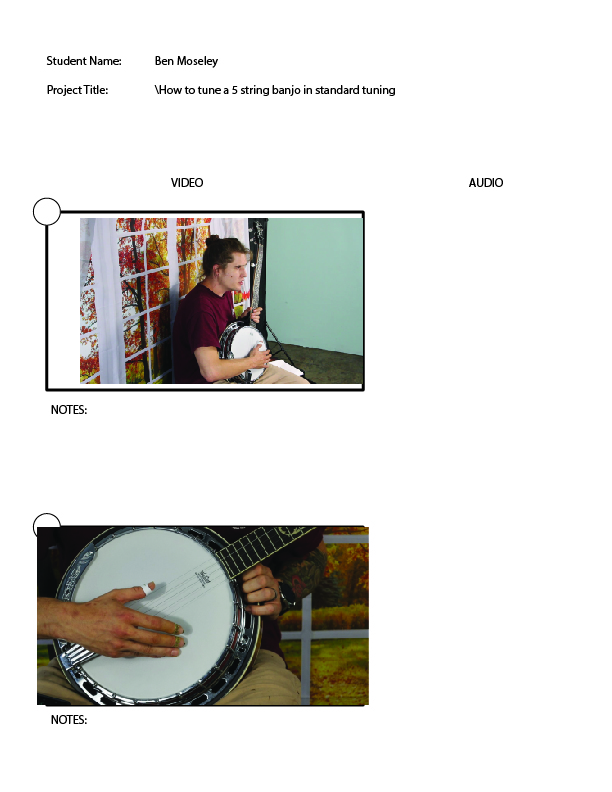
Before we began filming the final version of the banjo tutorial, I created a simple storyboard to map out each step of the process, from the introduction to the close-up shots of the tuning. This helped ensure a clear flow and allowed us to visualize how the video would come together. To get a better sense of how everything would look on camera, we filmed two rough cut, unedited run-throughs. These test shoots gave us insight into the lighting setup and the overall ambiance of the studio. We initially started with a more elaborate backdrop, but after reviewing the footage, I decided to simplify the background, which made the focus on the banjo much clearer and gave the video a more professional feel.
See the initial unedited test footage.
Pre-Production and Setup
Next came the practical elements. Filming took place in my basement photo studio, where I created a controlled environment with soft lighting to achieve a cool, calming tone. I opted for the Canon RP mirrorless camera due to its ability to capture crisp, professional-quality footage. Multiple camera angles and close-up shots were used to visually clarify each step of the tuning process. One of the challenges I faced was achieving consistent lighting across different angles, which I overcame by adjusting light positioning during the shoot.
Oops! Moments and Lessons Learned
There were definitely a few “oops!” moments during production, like forgetting to check the focus on one of the close-up shots, which resulted in blurry footage that had to be reshot. This taught me to double-check camera settings more frequently, especially when switching angles. I also had some issues with audio clarity and synchronization, which required additional takes for clear voiceovers. These hiccups were great learning experiences that sharpened my attention to detail.
Editing and Post-Production
For post-production, I used Adobe Premiere Pro to edit the video and After Effects for the title sequence introduction. The editorial process involved several versions of the cut as I refined the pacing and transitions.
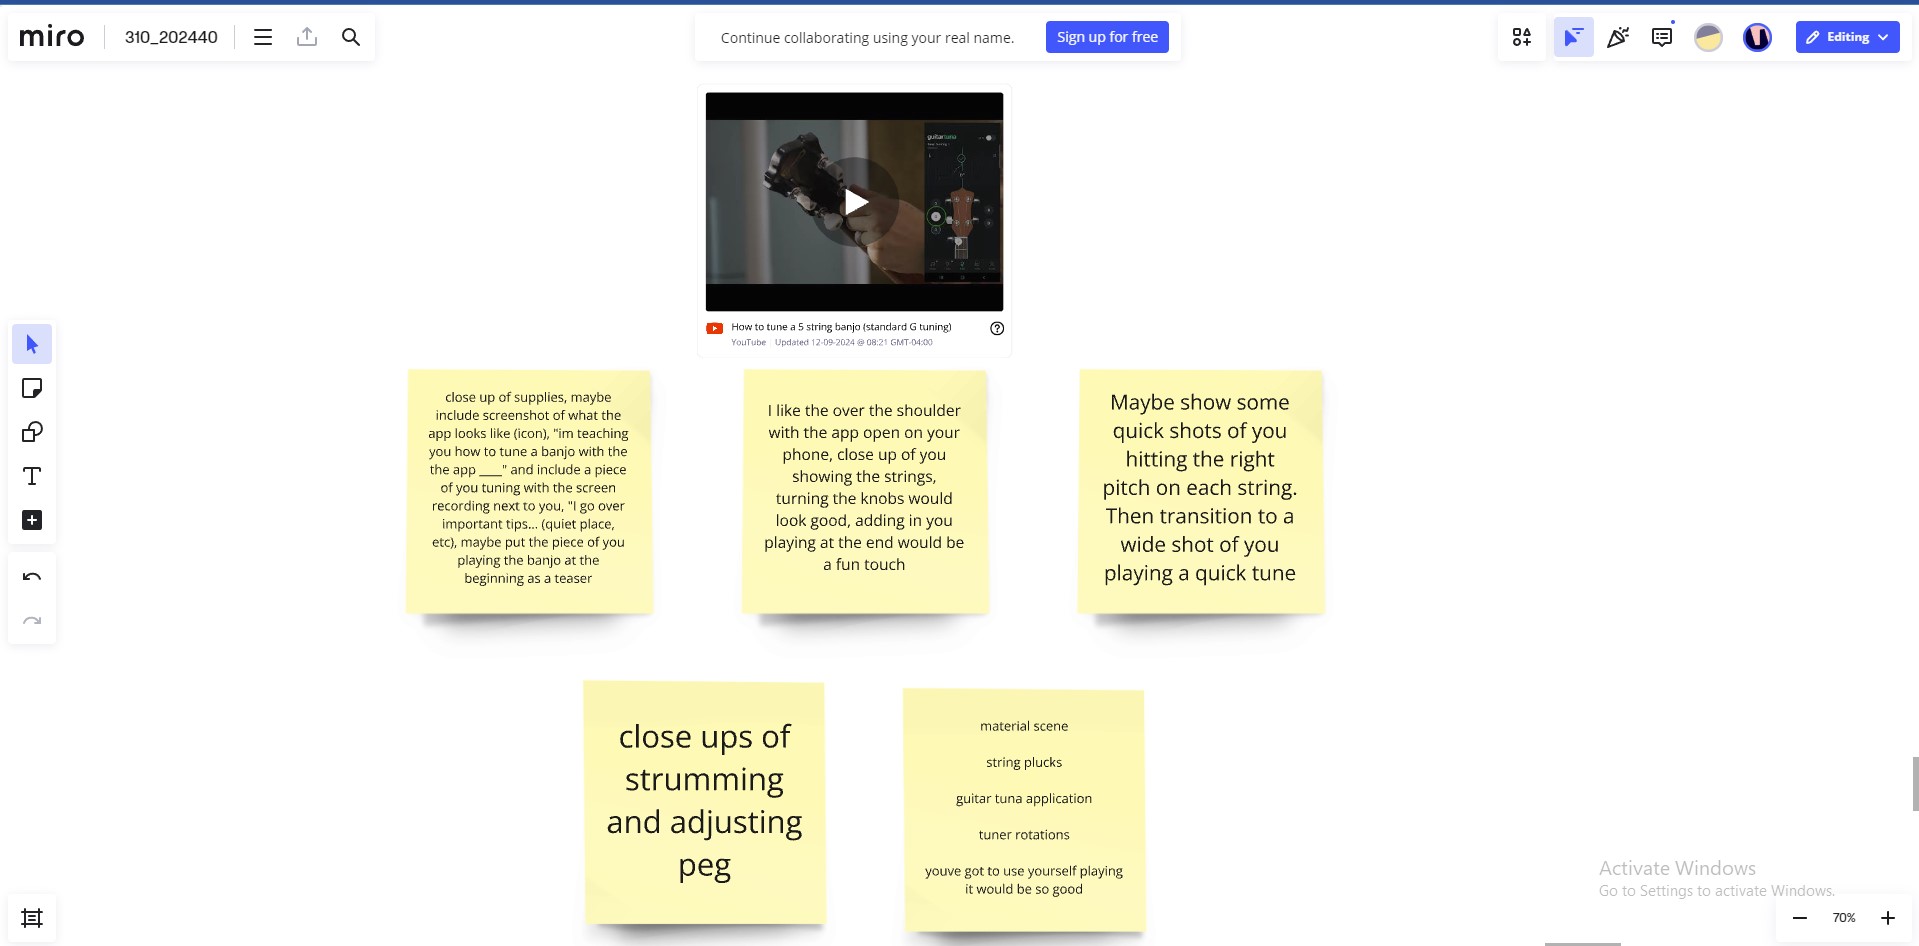
I also used Miro to map out critique benchmarks, keeping track of feedback from both my instructors and fellow students, along with my own assessments. Throughout this phase, I learned to balance my creative instincts with the need for precision, especially in keeping the video at the target 3-minute mark without losing crucial details.
I’ve included visuals of the editorial progress, with screenshots of the Premiere timeline and versions to illustrate the key points where changes were made. One lesson I learned here was to always save backup versions of the project files—an issue with a corrupted file almost set me back.
Instagram Promotion and Teaser
Once the main video was completed, I created a 43-second Instagram teaser to promote the full tutorial. The teaser included a voiceover with a more promotional tone and short clips to entice viewers. Using feedback from my Miro critique benchmarks, I made sure the promo was snappy and visually engaging. The teaser serves as a Call-To-Action, directing viewers to my portfolio website post, where they can explore the full project.
Instagram Post:
Learn how to tune your 5-string banjo 🪕 to Standard G in this quick step-by-step guide! 🎶 Featuring the Guitar Tuna app (not sponsored, just super handy). Check out the full tutorial on YouTube!
–
👉 Link in bio!
–
Happy Picking!
Results and Reflections
The final YouTube tutorial was well-received, with feedback highlighting the clarity of instructions and the professional look of the video. The Instagram teaser drove traffic to the full video, proving effective in cross-promotion. This project reinforced the importance of detailed pre-production and thorough post-production processes, and it demonstrated my ability to adapt content for different platforms while maintaining a high level of quality.
Conclusion
This project not only fulfilled the requirements of my academic assignment but also showcased the full scope of what Digi Design Group can offer in terms of video production. It reflects my ability to create instructional content while maintaining high production standards. As I continue producing content, I am excited to explore even more ways to combine education and entertainment through engaging, cross-platform videos.
Stay tuned for more, and check out the full process, along with clips and behind-the-scenes insights, on my portfolio website—where the Instagram teaser will direct viewers!
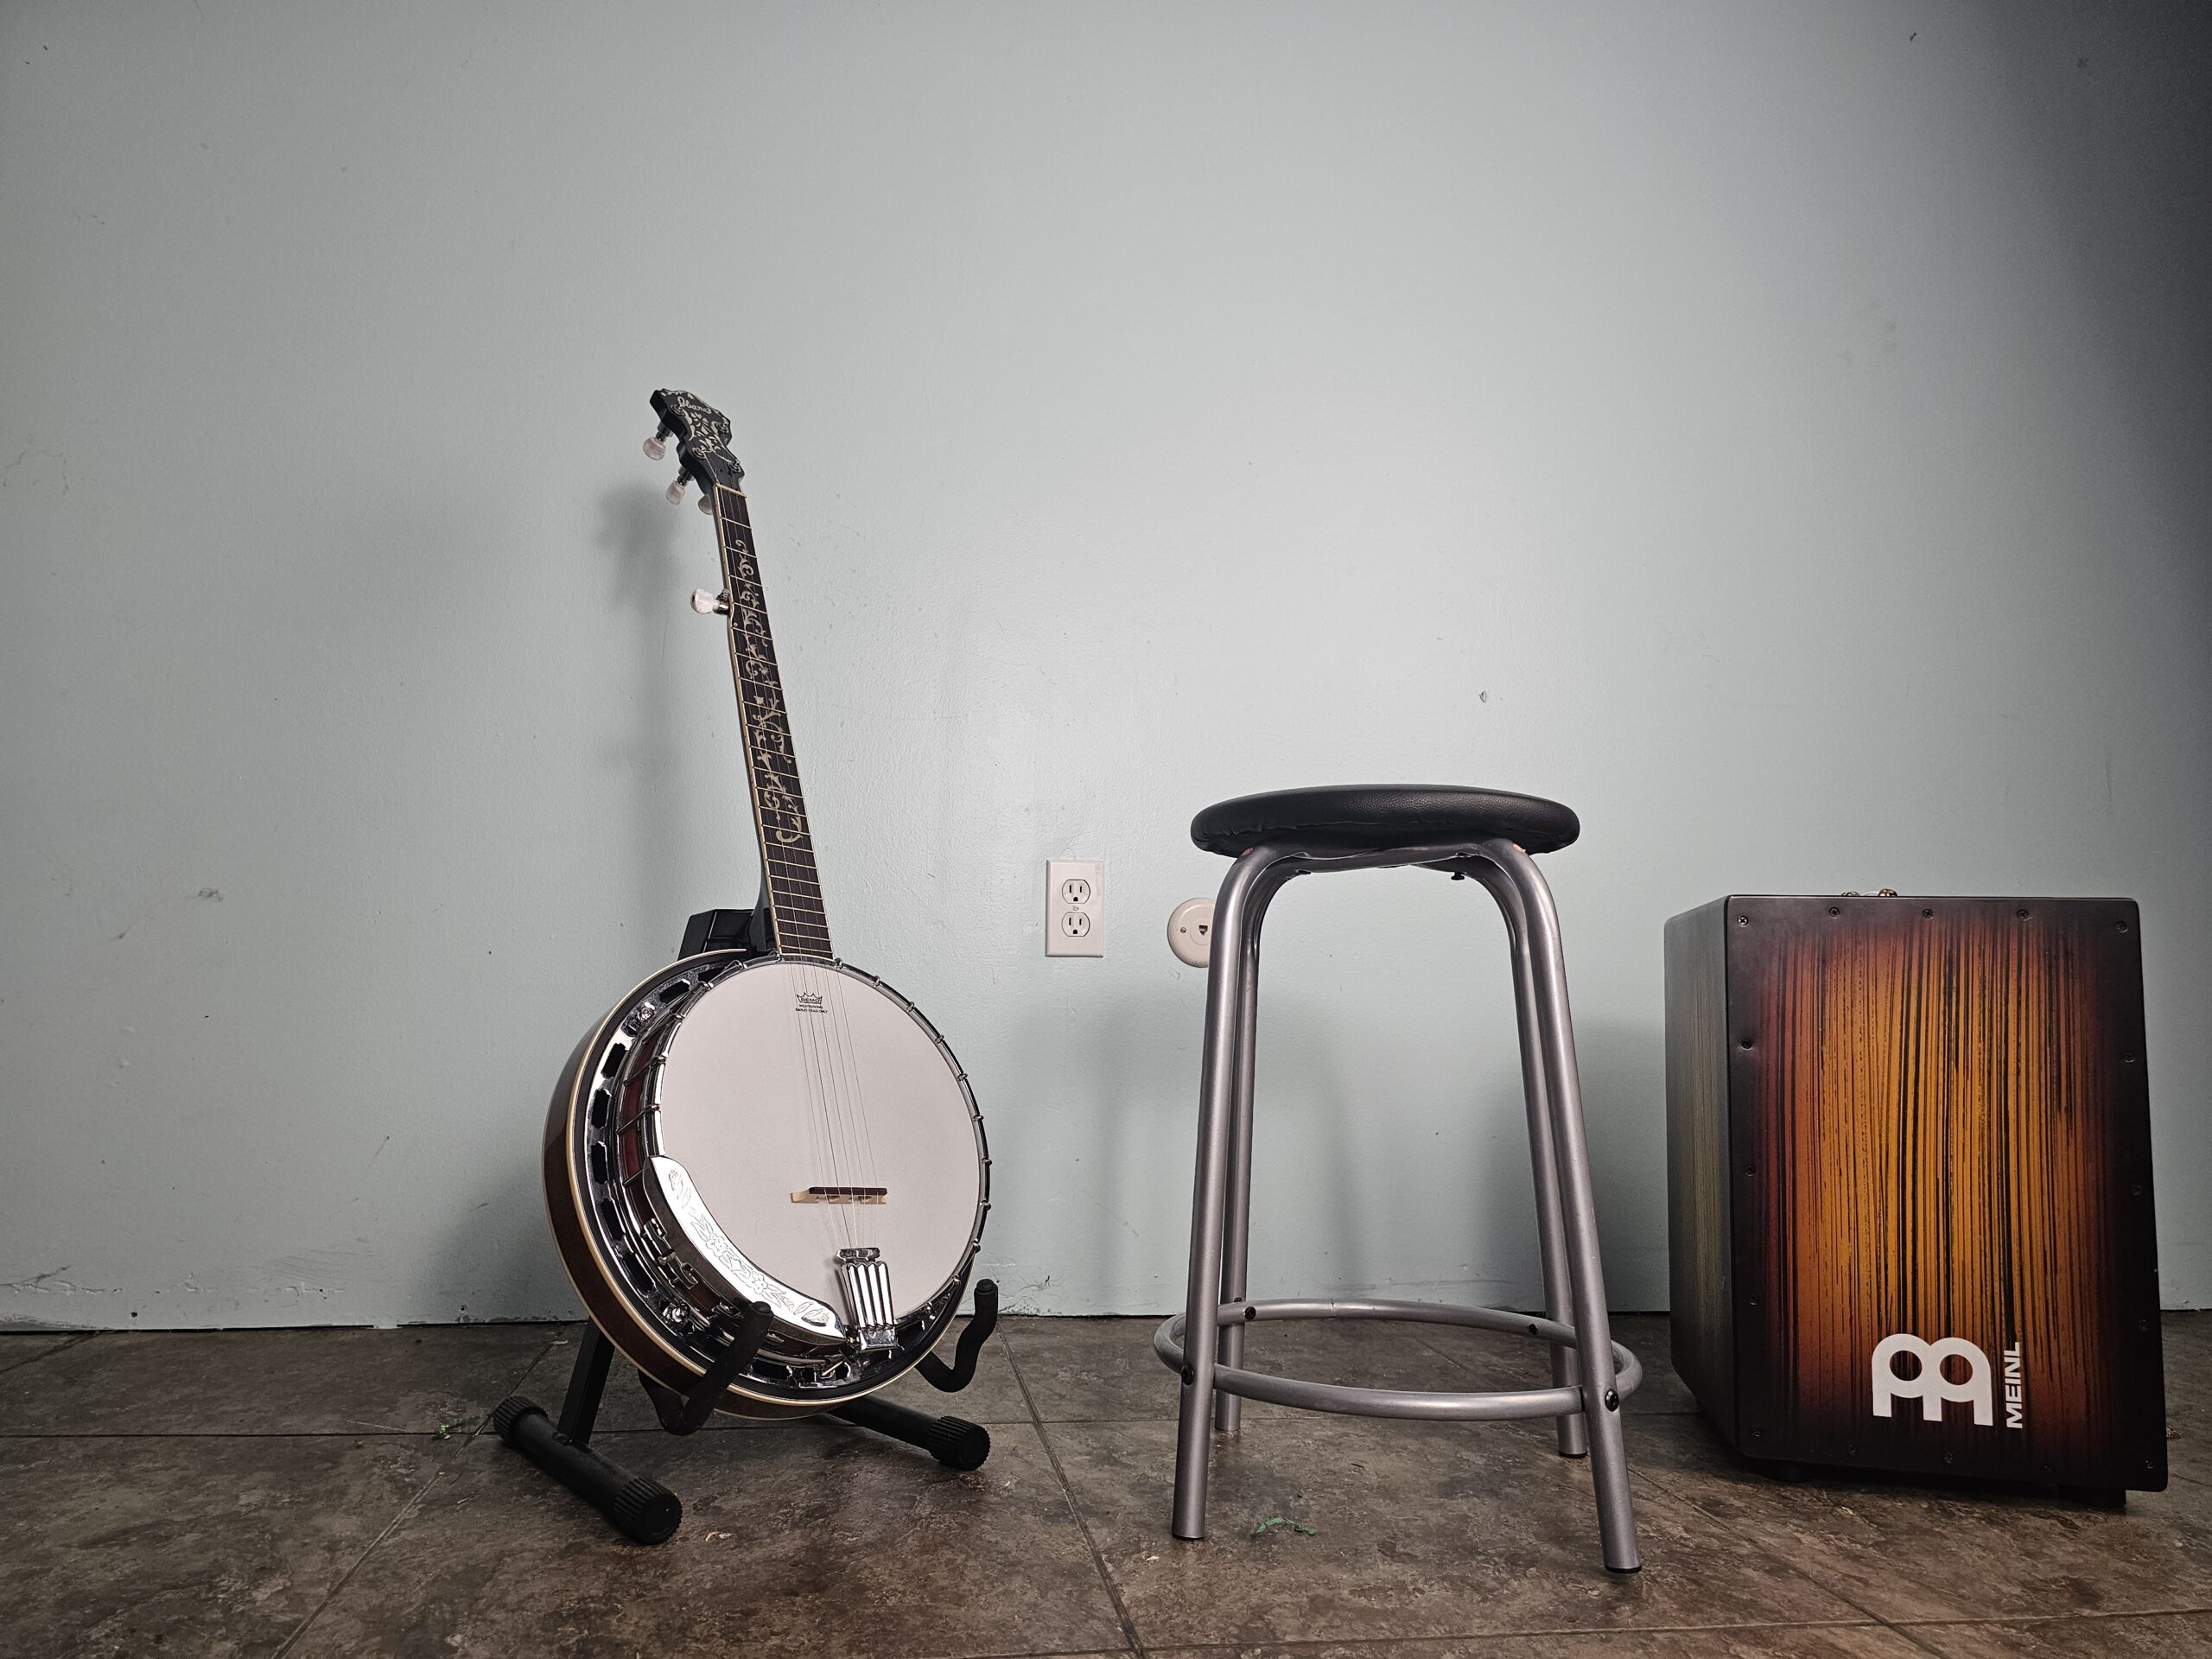
Behind the scene photos of the studio set-up